Rear Leaf Spring Replacement
by Francis Ellingworth, 12-Sept-2010
After a total of 225,000 miles and nearly 10 years, since the rear springs on my laser had been replaced they were in bad shape these ones have done around 90,000 miles. I had to fix one spring earlier in the year after discovering one had snapped. The car was sitting very low at the back, so it was time to change them.
Also bear in mind the number of speed calming devices on our roads these days compared to back in the early 80's.
Also bear in mind the number of speed calming devices on our roads these days compared to back in the early 80's.


This job is quite hard work and you may have problems with some of the fittings as they are constantly exposed to water and mud during their life.
Assuming you have got all the bits listed below, you should allow a whole day to change both springs.
Before you tackle this job you must have obtained the following: new set of springs CCI sell them as well as a number of traders a new set of U-bolts + nuts are a must
I was able to pick up a pair of new ones from a local factors for £10
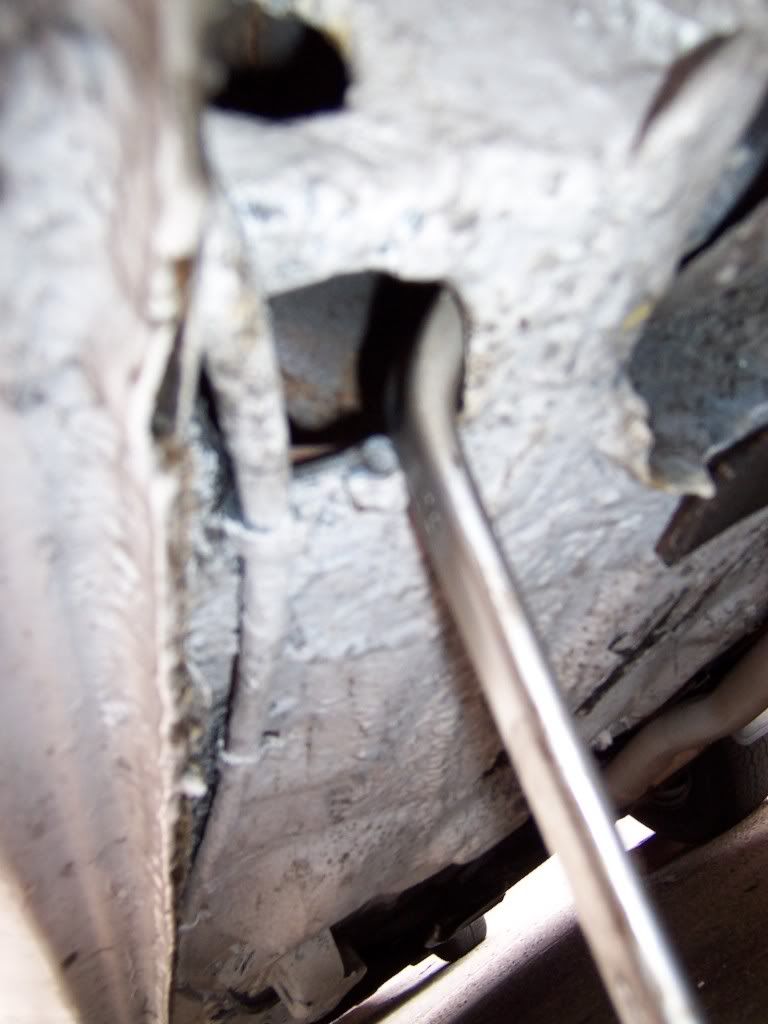
A 22mm 'recessed' ring spanner (by that I mean one where there is a 90° bend at the end of the handle). This is the ONLY type of spanner that will fit the nut on the front spring bolt due to its awkward location. Have a look before starting the job - you will see what I mean.
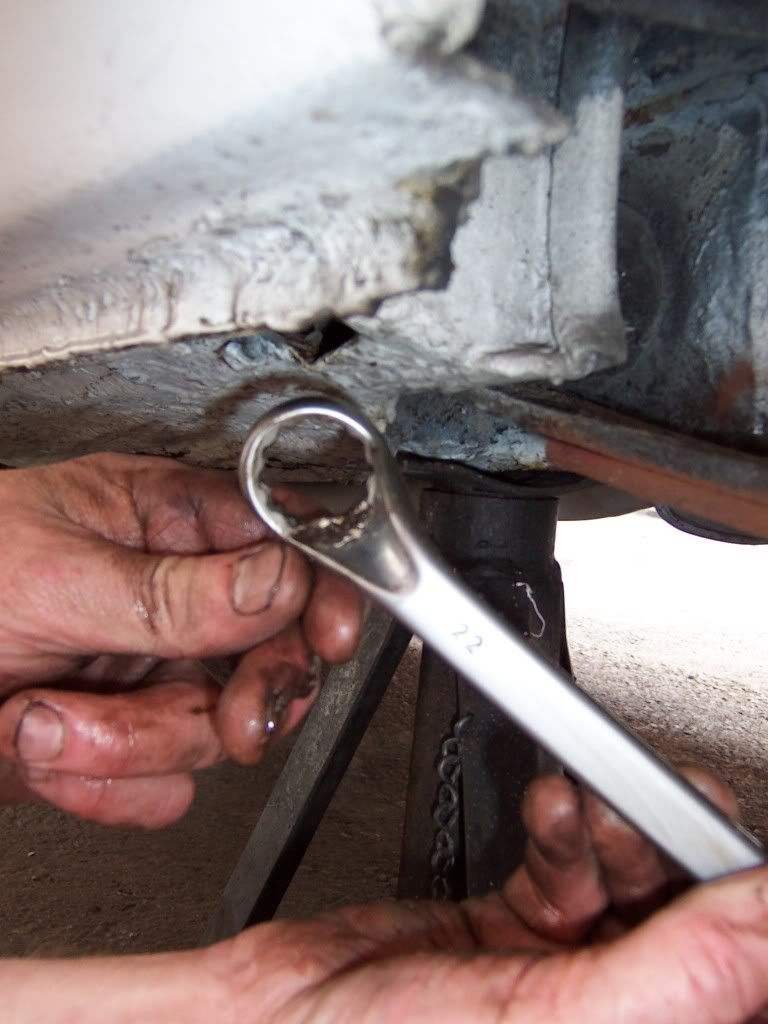
DO NOT be tempted to try and reuse the old U-bolts and nuts that clamp the spring to the rear axle. Unless you have at least 4 spares as an insurance policy as they can snap . First loosen the rear wheel nuts and jack up the rear of the car using a trolley jack on both sides so the axle can hang free under no load, then support on decent axle stands.
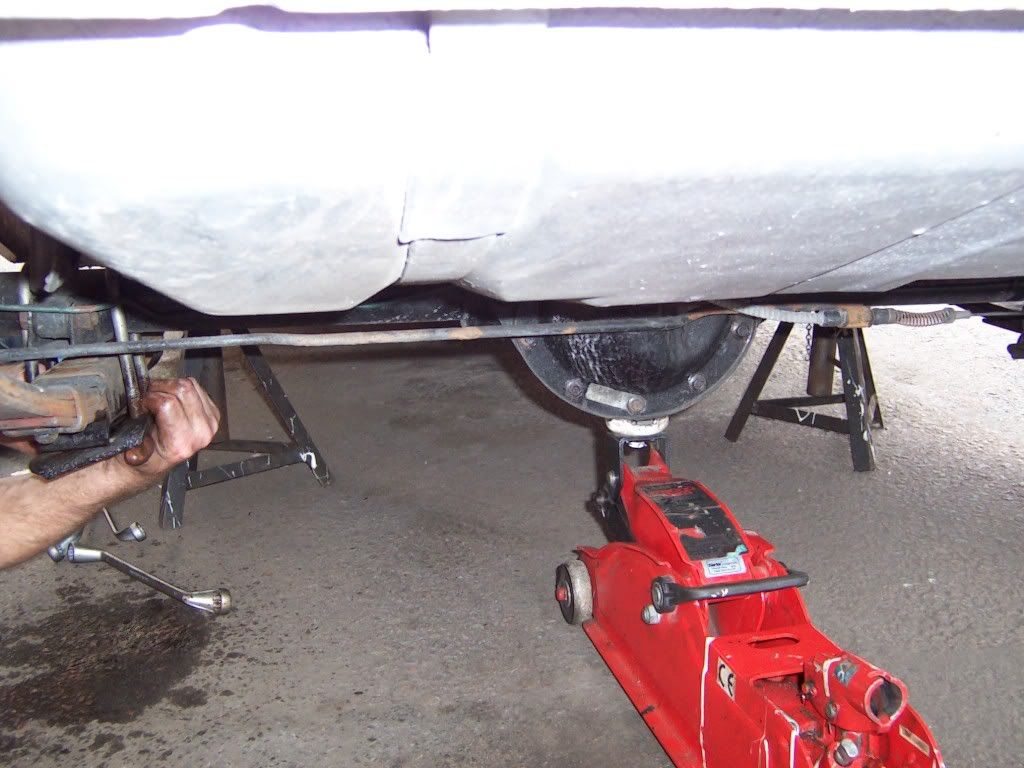
You need to place some axle stands on the chassis - try the box section just forward of where the front of the leaf spring is attached to the car. Once these are in place lower the jack slowly; the rear axle will drop down until the springs are in their resting place. Place the jack under the diff the take the load when the springs are removed
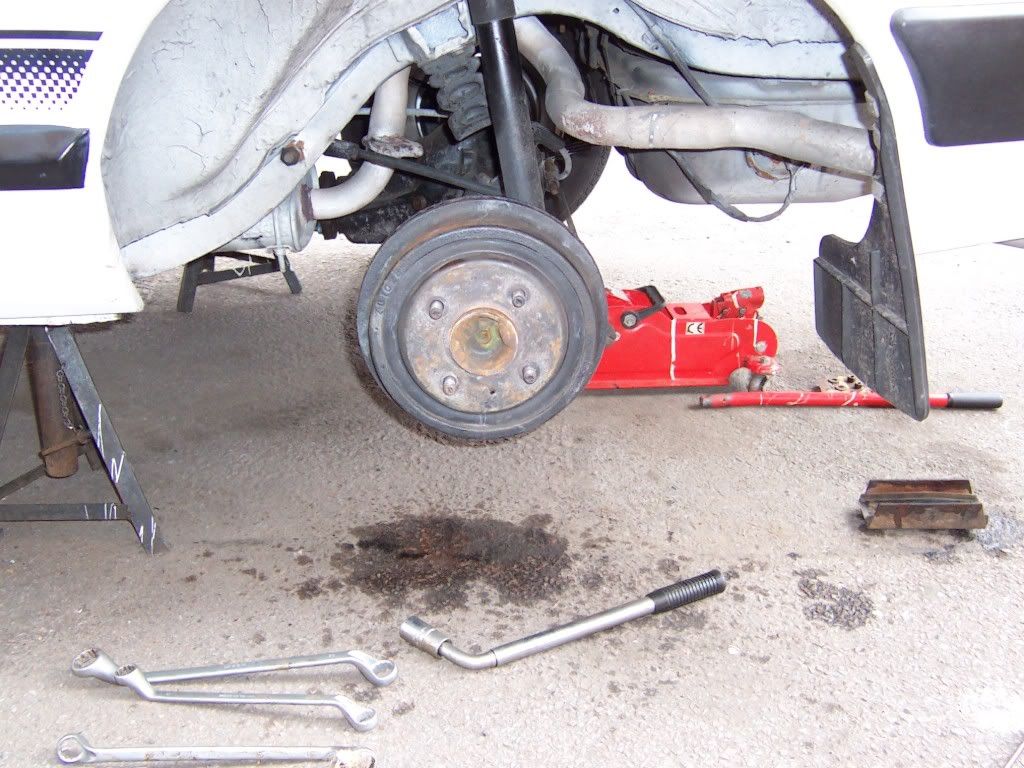
You are now ready to remove the springs. The LHS is slightly complicated by the presence of fuel tubes and the exhaust, so you may want to start with the RHS first. Spray everything to be undone with plenty of WD40 before you begin. Or use a far better solution of paraffin and some white spirit mixed, it clings to the threads and works quite well . Start by undoing the nuts holding the rear shackle assembly together. I had no problems with these. The shackle should twist apart leaving the end of the spring free.
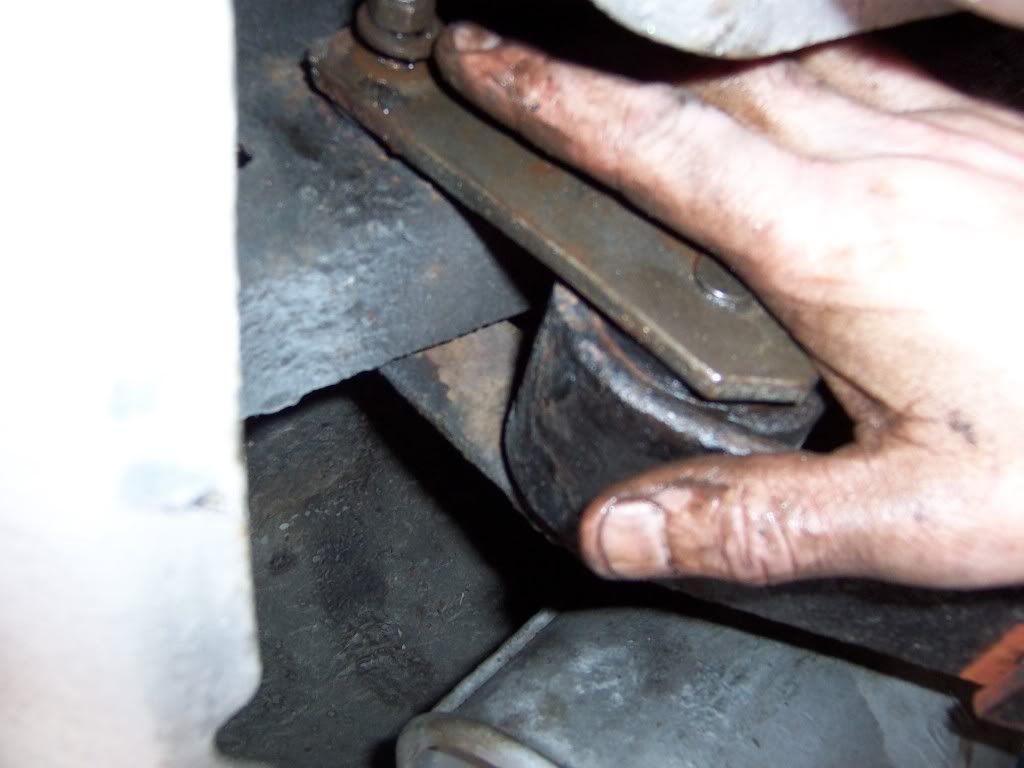
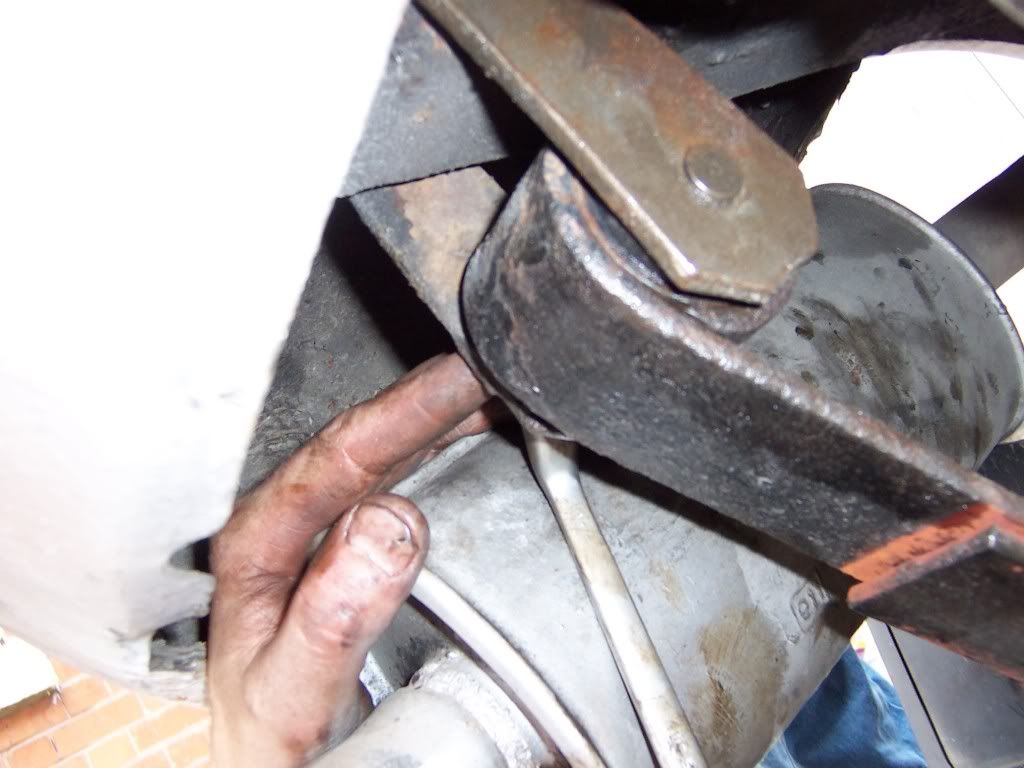

Old Spring Bush as you can see it is worn
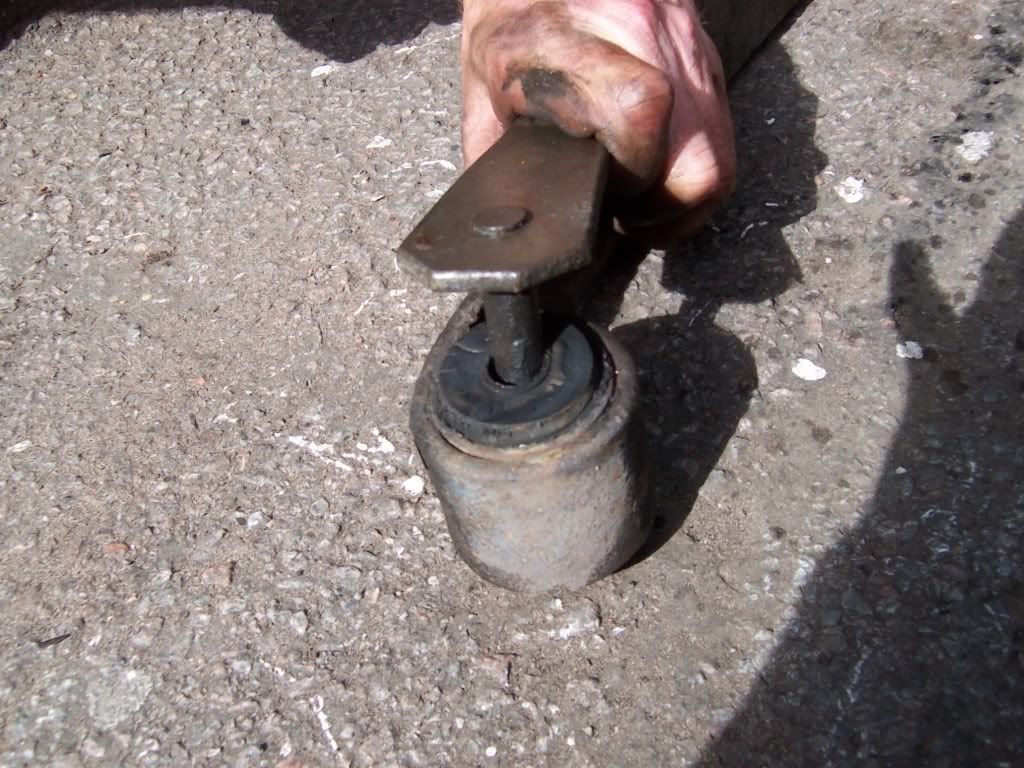
A lot of slop in the bush !
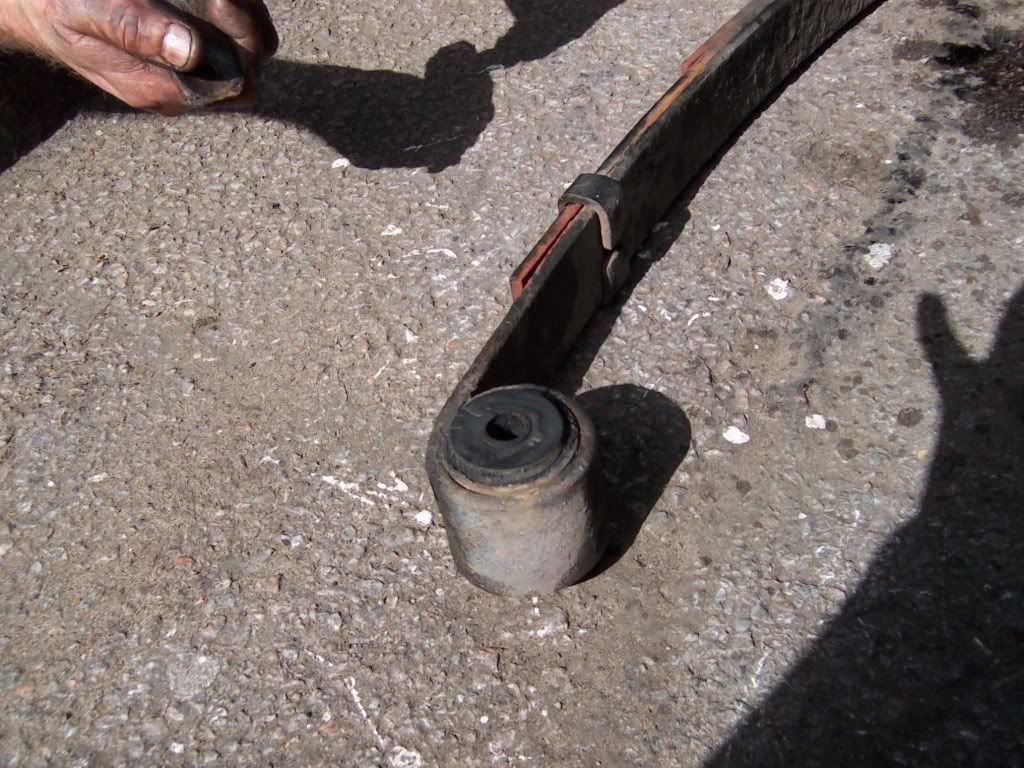

A lot of slop in the bush !

Now tackle the front of the spring.
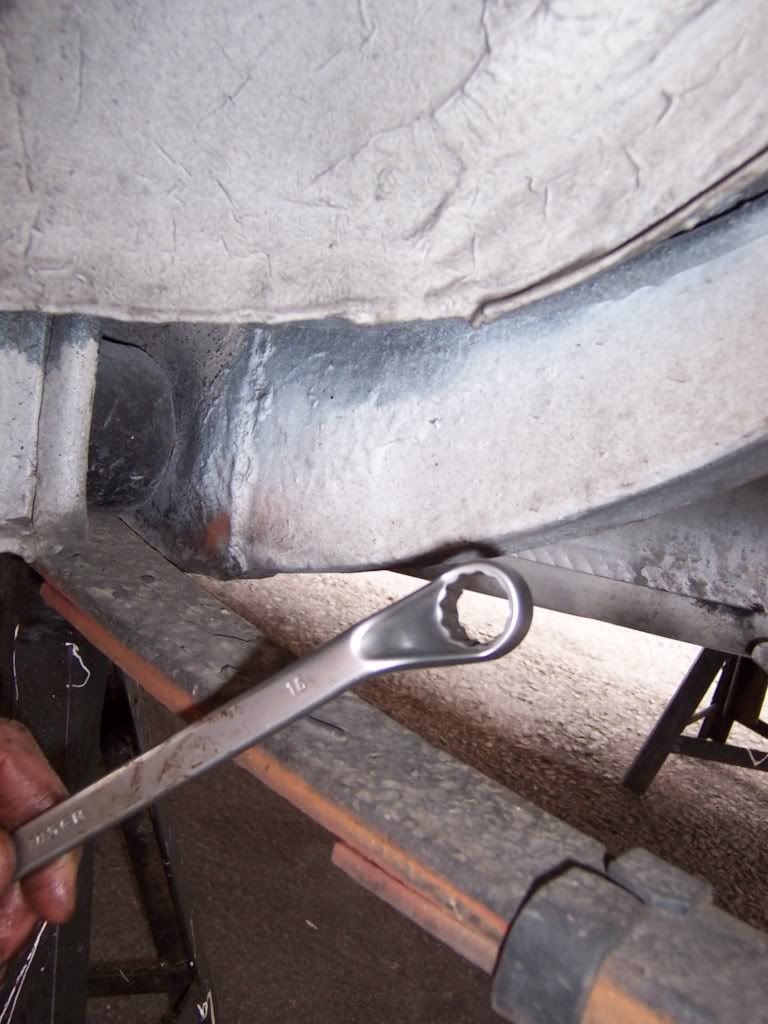


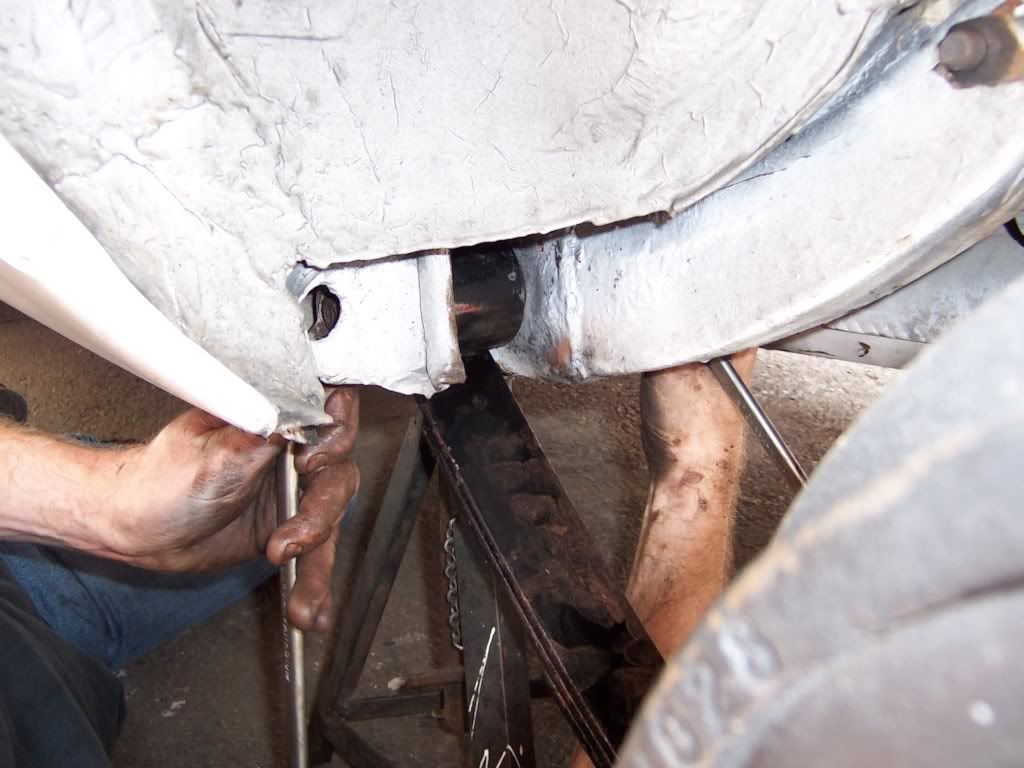
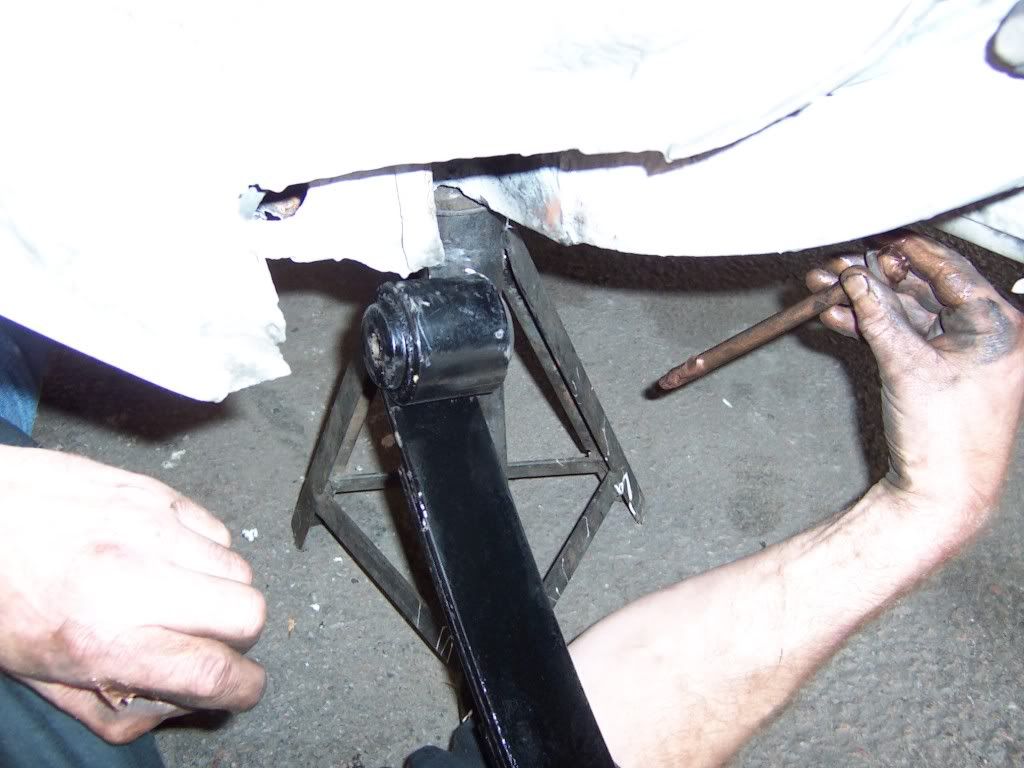
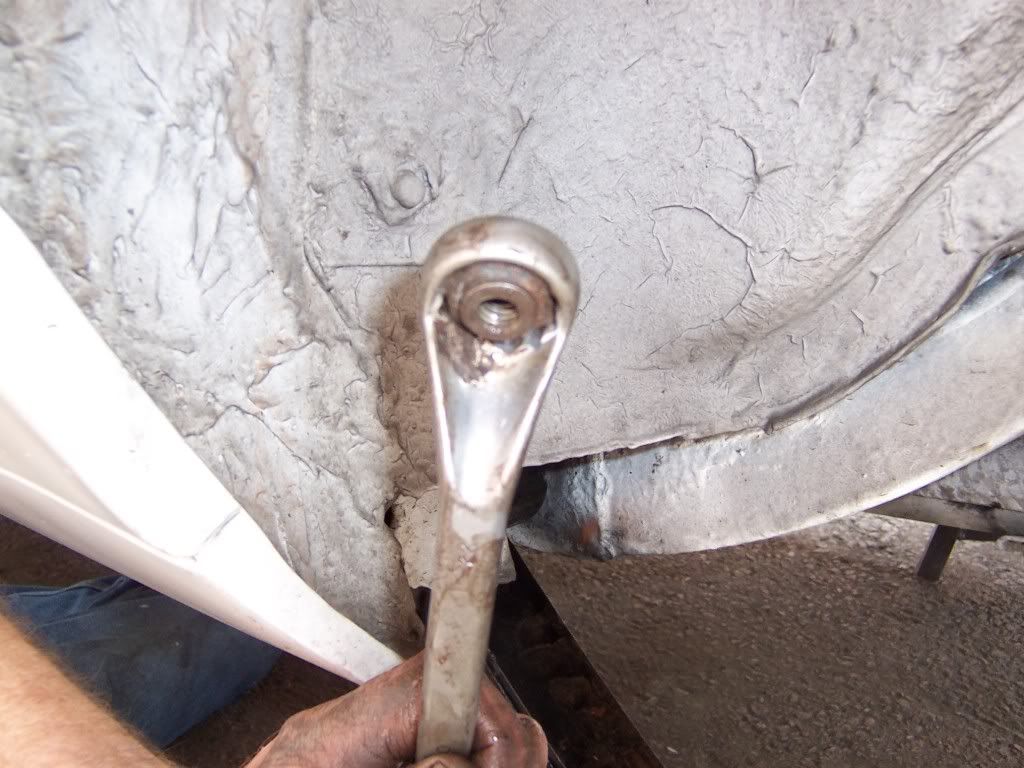

As I explained earlier, you will need a 22mm ring spanner with a bent end (not the flat types) which will just fit inside the small access hole and over the nut. Now using a 16mm spanner or socket on the bolt try turning - the ring spanner will lock against the metal freeing your hands up. I found the bolt was very hard to turn because the rubber bush had corroded onto it. Eventually nut should come off. However it might still take some considerable effort to get the rest of the bolt out. Keep undoing the bolt and slowly but surely it will twist its way out. With both ends of the spring undone, you can undo the nuts on the 4 U-bolts. Use a large socket wrench with a 16mm or 19mm depending on what nuts have been used. if you are careful and undo the u bolt nuts slowly and wash the treads in oil and paraffin the bolts can be saved.
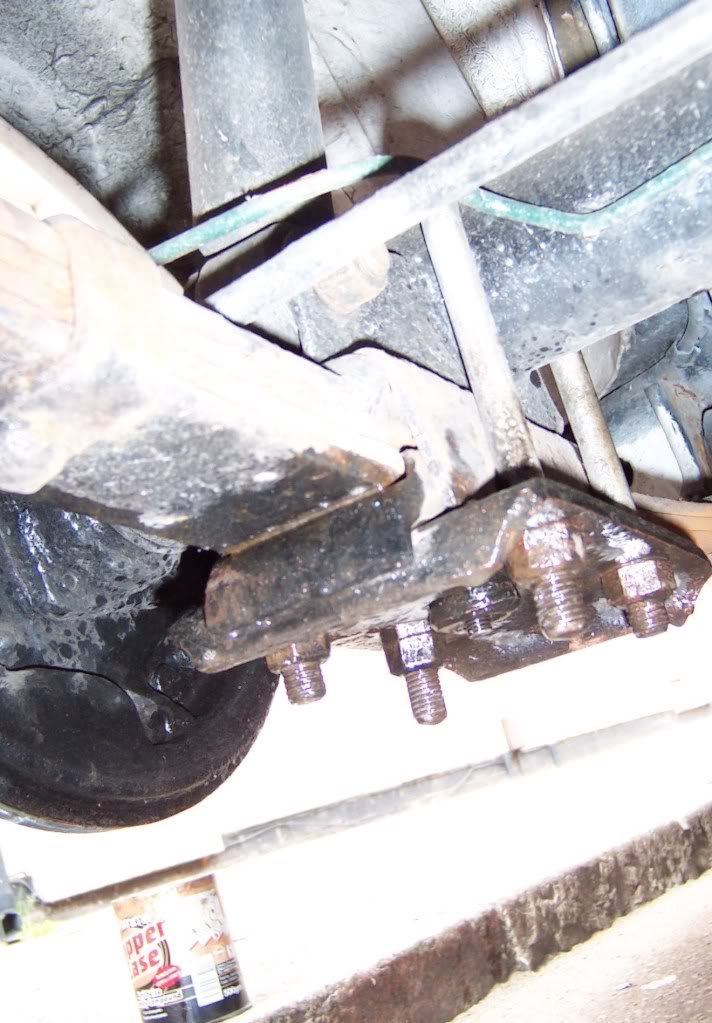
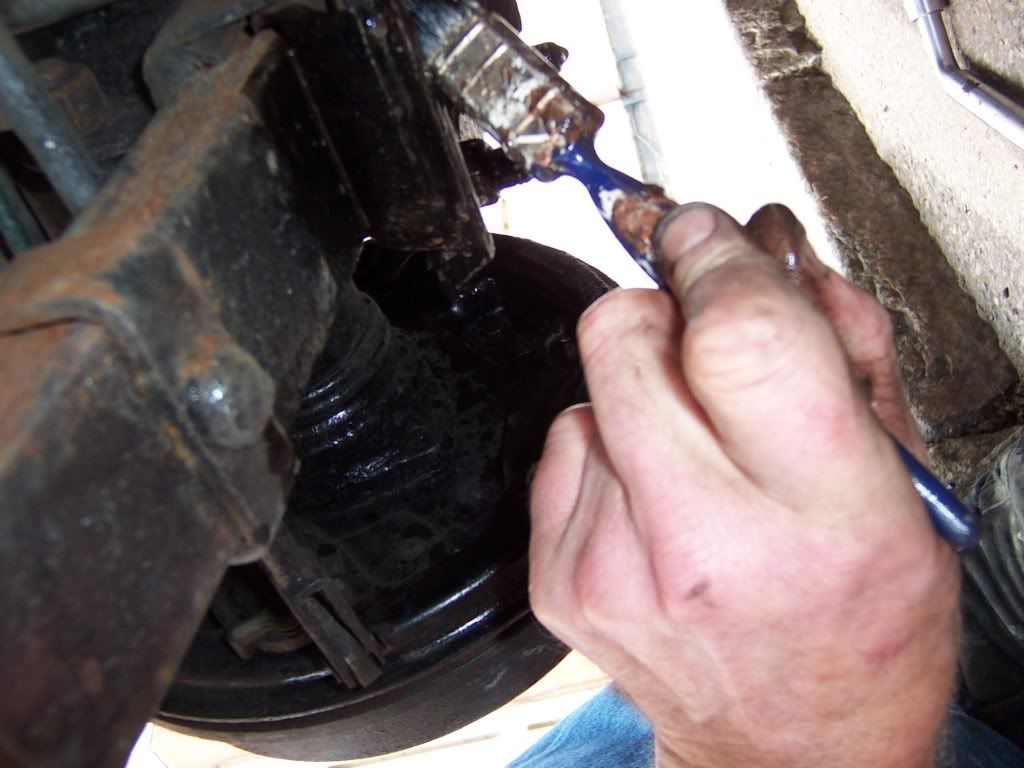
With a bit of pulling and tugging, you will be able to remove the spring from the car. Rescue the fittings from the centre of the old spring and transfer them onto the new one. Spend some time cleaning up the nuts and bolts and apply copper grease to the length of the bolt. This will prevent seizing problems in the future. The new spring should be attached front and rear first. This is a lot easier to do than the removing stage! At the moment, don't bother tightening up the bolts fully.
The next problem is to re-attach the centre of the spring to the axle. Simply use your trolley jack under the front part of the spring and slowly raise the spring upwards.
Make sure that you have fitted the metal and rubber parts from the old spring. To help with the fitting, cover the topmost rubber pad with some copper grease. You may have to tug on the axle a bit to get it aligned, but eventually you should be able to jack the spring into place ready for clamping. Attach the new U-bolts (copper grease on the threads) through the lower clamp plate and fix the 4 nuts on. Tighten them up slowly in sequence making sure that the same amount of thread is visible on each. Eventually you can torque them to 20 pounds foot (repeat several times until all 4 are properly torqued). This is not the final torque setting that should be done at the end with the car on the ground.
Make sure that you have fitted the metal and rubber parts from the old spring. To help with the fitting, cover the topmost rubber pad with some copper grease. You may have to tug on the axle a bit to get it aligned, but eventually you should be able to jack the spring into place ready for clamping. Attach the new U-bolts (copper grease on the threads) through the lower clamp plate and fix the 4 nuts on. Tighten them up slowly in sequence making sure that the same amount of thread is visible on each. Eventually you can torque them to 20 pounds foot (repeat several times until all 4 are properly torqued). This is not the final torque setting that should be done at the end with the car on the ground.

Spanner points to centre of clamp where the clamp rests

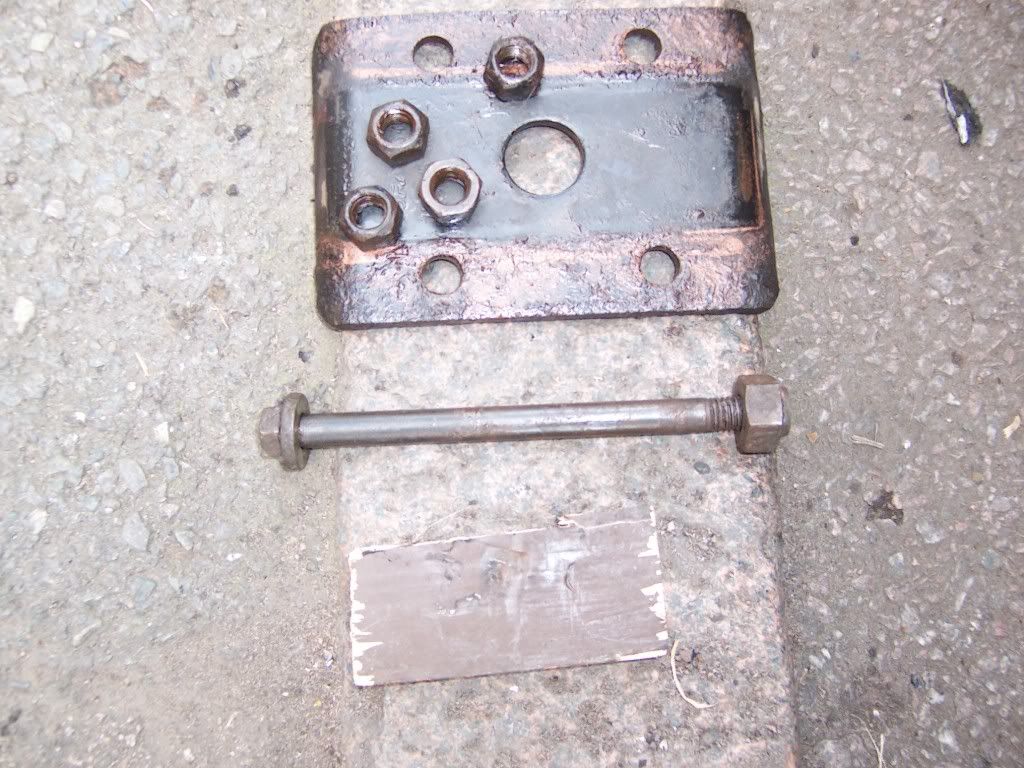


And that is the first side completed!
Once the other side is finished you can attach the road wheels and lower the car down. All the bolts should now be tightened and torqued to the correct level with the car resting on the ground (Rear = 9 pounds foot, front = 28 pounds foot & spring U-bolts = 25 pounds foot). You will be amazed at the difference in ride height - my car is at least three inches higher at the back end! I found the car felt very solid and smooth afterwards. It was a very satisfying job to tackle .
Memo to self : Don’t over tighten the rear shackle nuts 13mm as they can snap very easily !
You end up doing some heavy spanner work on the front bolts and U bolts and the shackles are very fragile compared

There you go may be of some use and proof it’s not as daunting as you think !
